THE FIELD GUIDE / 08 STATIONS

Know the station.
Keep your rhythm.

Better technique makes every training session more purposeful. Learn the movement, practise a repeatable effort, and arrive with a plan for the next run.

Find your station

BEFORE YOU LOAD UP

Technique first.
Then make it repeatable.

Use this page as a practical reference, not an eight-station workout. Warm up for 8–10 minutes, then choose one or two drills that match your current ability. Keep early practice comfortable and stop if a movement causes pain.

  1. Learn it fresh. Practise the setup and a clean repetition before adding fatigue.
  2. Repeat it well. Keep the last round as controlled as the first.
  3. Connect it to running. Add a short, easy run only after the movement feels consistent.
01

RHYTHM + BREATHING

SkiErg

1,000 m

Find a rhythm you can leave behind.

The first station is an opportunity to settle. Choose an effort that lets you get back into your run without needing a long recovery.

Read the full SkiErg guide
RULES REMINDER

Use the baseplate; finish the distance and wait for judge confirmation before leaving.

Full singles standard ↗
Freestanding ski ergometer with two overhead pull handles
SkiErg equipment

Make the movement work

  1. Start tall with soft knees. Initiate the pull with your trunk and hips, then let the arms finish towards your thighs.
  2. Use a controlled hinge rather than turning every stroke into a deep squat. Let the handles return smoothly as you stand.
  3. Keep the grip relaxed between pulls. Find a breathing rhythm you can repeat instead of chasing a fast opening split.

Watch for this

Pulling mainly with your arms, shrugging your shoulders or squatting excessively can make the movement harder to sustain. Slow down until the whole stroke feels connected.

Try it in training

4 × 250 m at a comfortable, repeatable effort. Rest 60 seconds between rounds. Watch whether the final interval stays as smooth as the first.

Make it manageable. Start with 4 × 100 m if the movement is new. Build consistent strokes before increasing distance or pace.

Think one station ahead. Practise stepping away from the machine and finding an easy running rhythm. Your best standalone SkiErg time is not automatically your best race effort.

Concept2: SkiErg technique ↗
02

LEG DRIVE + BRACING

Sled push

50 m

Short steps. Constant pressure.

The aim is to move the sled with control and still have legs for the next run. Practise pressure through the handles before chasing heavier plates.

Read the full Sled push guide
RULES REMINDER

Stay in your lane; move the whole sled past each line before turning.

Full singles standard ↗
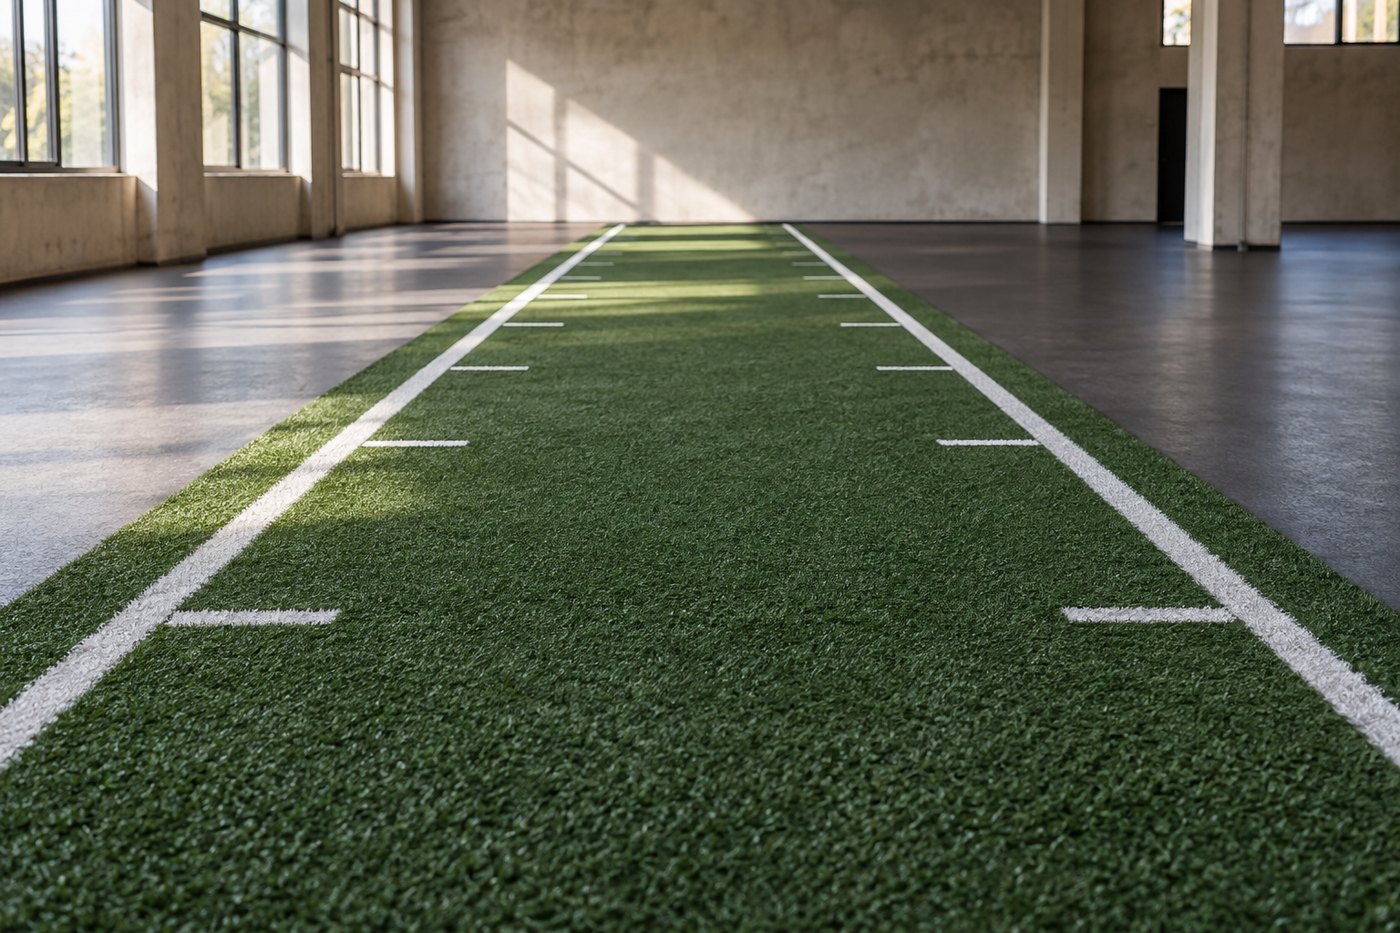
Weighted push sled with upright poles on a turf lane
Sled push equipment

Make the movement work

  1. Lean into the sled with a braced trunk. Choose a hand position that lets you keep pushing without folding through your back.
  2. Take compact steps and keep pressure through the handles. Avoid reaching so far that each step becomes a separate lunge.
  3. If momentum stops, reset your feet and brace before pushing again. Practise short, purposeful pauses rather than pushing until your posture collapses.

Watch for this

Standing too upright or taking long strides can interrupt your drive. A load that forces repeated stalled attempts is too heavy for a technique session.

Try it in training

4 × 10 m with a manageable load, resting 60–90 seconds. Use the first two lengths to find a stable body angle and the next two to repeat it.

Make it manageable. Use a lighter sled or 5 m lengths. Change one thing at a time: distance, load or recovery.

Think one station ahead. Practise the turn as well as the push. Different turf changes how a sled feels, so gym plate numbers alone cannot promise race-day readiness.

03

PULLING + FOOTWORK

Sled pull

50 m

Manage the rope. Own your space.

This station rewards an organised setup. Learn where your feet and loose rope will go before adding speed or a demanding load.

Read the full Sled pull guide
RULES REMINDER

Pull standing, respect the box lines, and keep your rope out of neighbouring lanes.

Full singles standard ↗
Weighted sled with an attached pulling rope on turf
Sled pull equipment

Make the movement work

  1. Establish a stable stance within your working area. Brace before loading the rope and keep your movements controlled.
  2. Coordinate the pull with your body rather than relying on repeated arm curls. Reposition deliberately when you run out of working space.
  3. Keep loose rope tidy and away from your feet. Rehearse the reset so the next pull starts without a tangle.

Watch for this

Looking only at the sled can leave you stepping into the rope or over a boundary. Practise with a marked working area, not unlimited space behind you.

Try it in training

4 × 10 m at a load you can move smoothly. Rest 60–90 seconds and reset the rope fully before each length. Make clean footwork the success measure.

Make it manageable. Reduce the load or length. Cable rows can build pulling strength when equipment is limited, but cannot teach the rope handling and footwork of the station.

Think one station ahead. Inspect your assigned working area and rope before starting. A controlled reset is usually more useful than a rushed pull with nowhere safe to step.

04

RHYTHM + LANDING

Burpee broad jumps

80 m

Repeatable beats spectacular.

Build a sequence you can repeat: lower, rise, jump, land, reset. The longest possible jump is rarely the best place to begin learning that sequence.

Read the full Burpee broad jumps guide
RULES REMINDER

Chest touches the floor; jump and land with both feet together. Observe hand-placement and line rules.

Full singles standard ↗
Clear marked turf lane for burpee broad jumps
Burpee broad jumps — a clear lane

Make the movement work

  1. Lower with control, then choose a step-up or jump-up that you can sustain. Practise that choice consistently.
  2. Use your arms to support a controlled forward jump. Land balanced with soft knees before starting the next repetition.
  3. Choose a jump length that preserves rhythm. Leave enough control to place your hands correctly on the next rep.

Watch for this

Huge early jumps followed by long pauses can disrupt your rhythm. Extra forward shuffles also create a movement-standard problem, even when they feel like a harmless reset.

Try it in training

4 sets of 4 controlled repetitions with 60–90 seconds of rest. Use a clear, non-slip lane and focus on making all four landings alike.

Make it manageable. Begin with 2–3 repetitions. A no-jump burpee is a training modification, not the race movement; add the jump only when you can land comfortably.

Think one station ahead. Practise the legal movement before adding fatigue. Aim to leave the final landing ready to run, rather than needing a long standing recovery.

05

SEQUENCING + PACING

Rowing

1,000 m

Drive with your legs. Recover with control.

A good stroke has an order. Learn it at a comfortable effort so you can keep using it when the row arrives in the middle of the race.

Read the full Rowing guide
RULES REMINDER

Complete the distance and remain seated until the judge confirms you may leave.

Full singles standard ↗
Indoor air rowing machine with a sliding seat and long rail
Rowing equipment

Make the movement work

  1. On the drive, push with your legs, open through the hips, then draw the handle towards your lower ribs. Keep wrists flat.
  2. On the return, send the hands away, hinge forward, then bend the knees. Give the handle space to clear your knees.
  3. Let the seat travel forward under control. Keep the grip light and avoid reaching so far that your position collapses at the catch.

Watch for this

Bending the arms too early reduces the contribution of your legs. Rushing the seat forwards can make every stroke feel busy without making it more effective.

Try it in training

3 × 3 minutes of easy rowing with 90 seconds of rest. In each interval, spend the first minute on sequencing and the next two maintaining the same relaxed rhythm.

Make it manageable. Start with 2 × 2 minutes. Add time when the recovery remains controlled; do not increase stroke rate simply to finish sooner.

Think one station ahead. Set your feet and use a familiar damper setting. Practise an effort you can sustain without losing the sequence in the closing few hundred metres.

Concept2: rowing technique ↗
06

GRIP + POSTURE

Farmers carry

200 m

Stay tall. Keep the bells quiet.

The challenge is to keep moving while your grip works. Train the carry itself, including turns and a deliberate way to put the weights down.

Read the full Farmers carry guide
RULES REMINDER

Carry both bells at your sides with extended arms; return them to the assigned box.

Full singles standard ↗
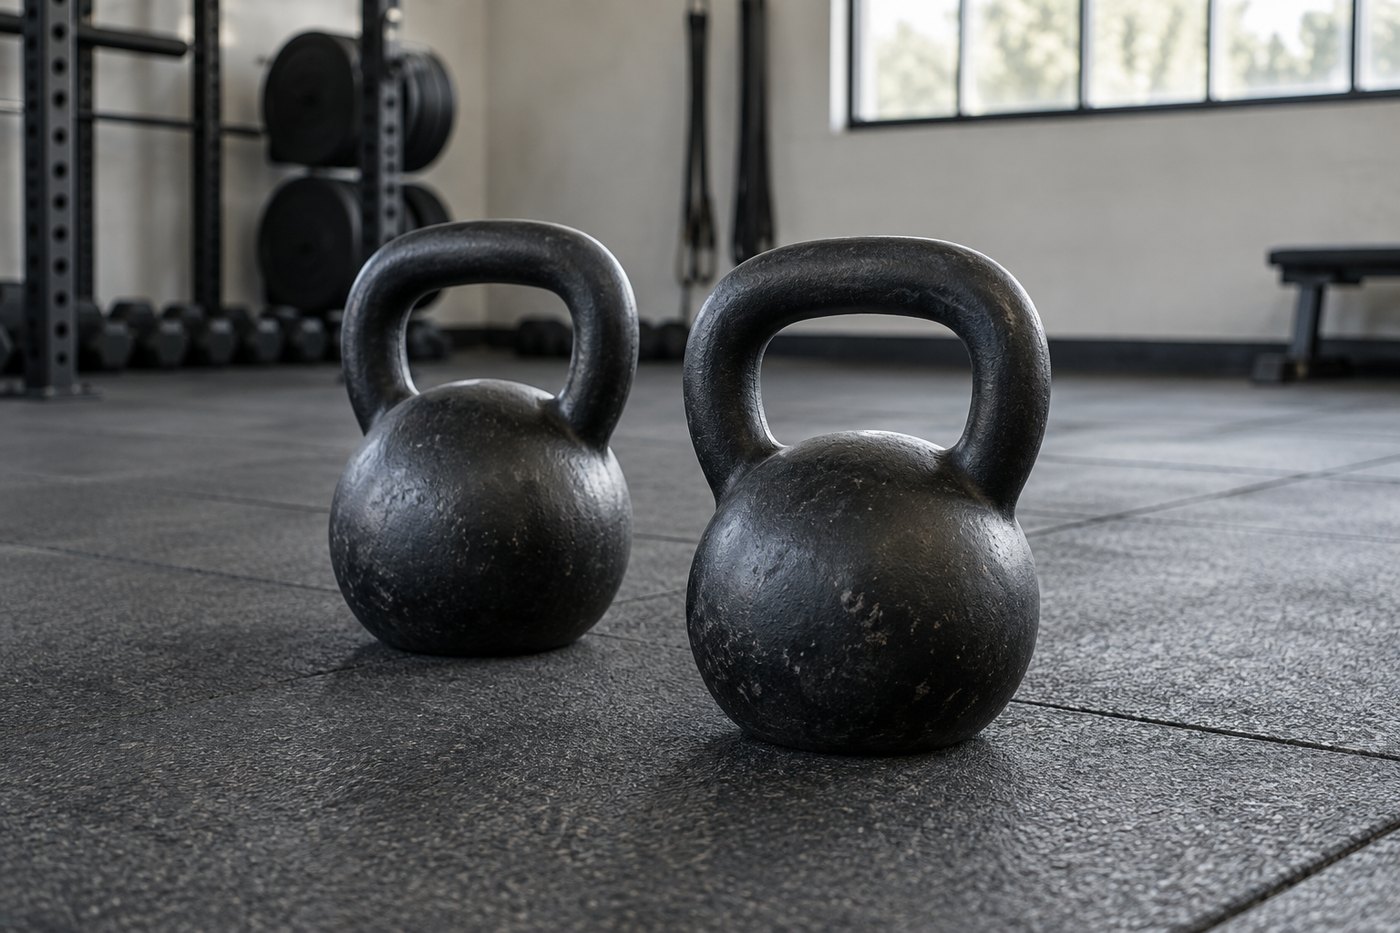
Pair of kettlebells on a gym floor
Farmers carry equipment

Make the movement work

  1. Stand upright without leaning forwards or backwards. Keep the kettlebells close to your sides with your arms straight.
  2. Use controlled steps and turn without swinging the weights into a wide arc. Keep looking along your route.
  3. If you need a rest, place the bells down deliberately. Reset your grip and posture before lifting again.

Watch for this

Rushing until the bells swing or your shoulders slump makes the carry harder to manage. Test shorter, controlled bouts before attempting one long unbroken effort.

Try it in training

4 × 30 m carries with 60–90 seconds of rest. Choose weights you can carry with steady posture and include one controlled turn in each bout.

Make it manageable. Use lighter weights or 15 m bouts. Stop the set before grip failure makes the return or set-down uncontrolled.

Think one station ahead. Decide in training what a purposeful rest looks like. A brief planned stop can be easier to manage than losing your grip unexpectedly.

07

SINGLE-LEG CONTROL

Sandbag lunges

100 m

A stable step, all the way to standing.

Start by owning the movement without a bag. The load should be added to a stable lunge, rather than used to force a deeper or faster repetition.

Read the full Sandbag lunges guide
RULES REMINDER

Alternate knees to the floor, stand fully tall, and keep supporting the bag.

Full singles standard ↗
Weighted training sandbag resting on turf
Sandbag lunges equipment

Make the movement work

  1. Take a step that lets the front foot stay stable as you lower. Touch the trailing knee down with control.
  2. Push through the front foot to stand fully tall before the next alternating step. Keep the bag secure and your torso controlled.
  3. Use a repeatable stride and keep breathing. Short, tidy sets are a useful starting point for learning the pattern.

Watch for this

Rushing the top of the repetition can leave the hips or knees short of extension. Overlong steps can make balance harder and encourage the torso to collapse.

Try it in training

3 sets of 8 alternating walking lunges, resting 90 seconds. Begin with bodyweight and count only repetitions with a controlled knee touch and full standing finish.

Make it manageable. Reduce the repetitions before adding a bag. Increase load gradually; keep the same distance while you learn to control the extra weight.

Think one station ahead. Once your loaded technique is consistent, occasionally practise an easy run afterwards. Learn the transition without making every lunge session a race simulation.

08

SQUAT + ACCURACY

Wall balls

100 reps

Let the legs drive the ball.

The final station combines squat control, throwing accuracy and repeatable sets. Practise a clean repetition first, then build the number you can repeat.

Read the full Wall balls guide
RULES REMINDER

Squat below knee level and hit the correct target. After a drop, reset standing tall.

Full singles standard ↗
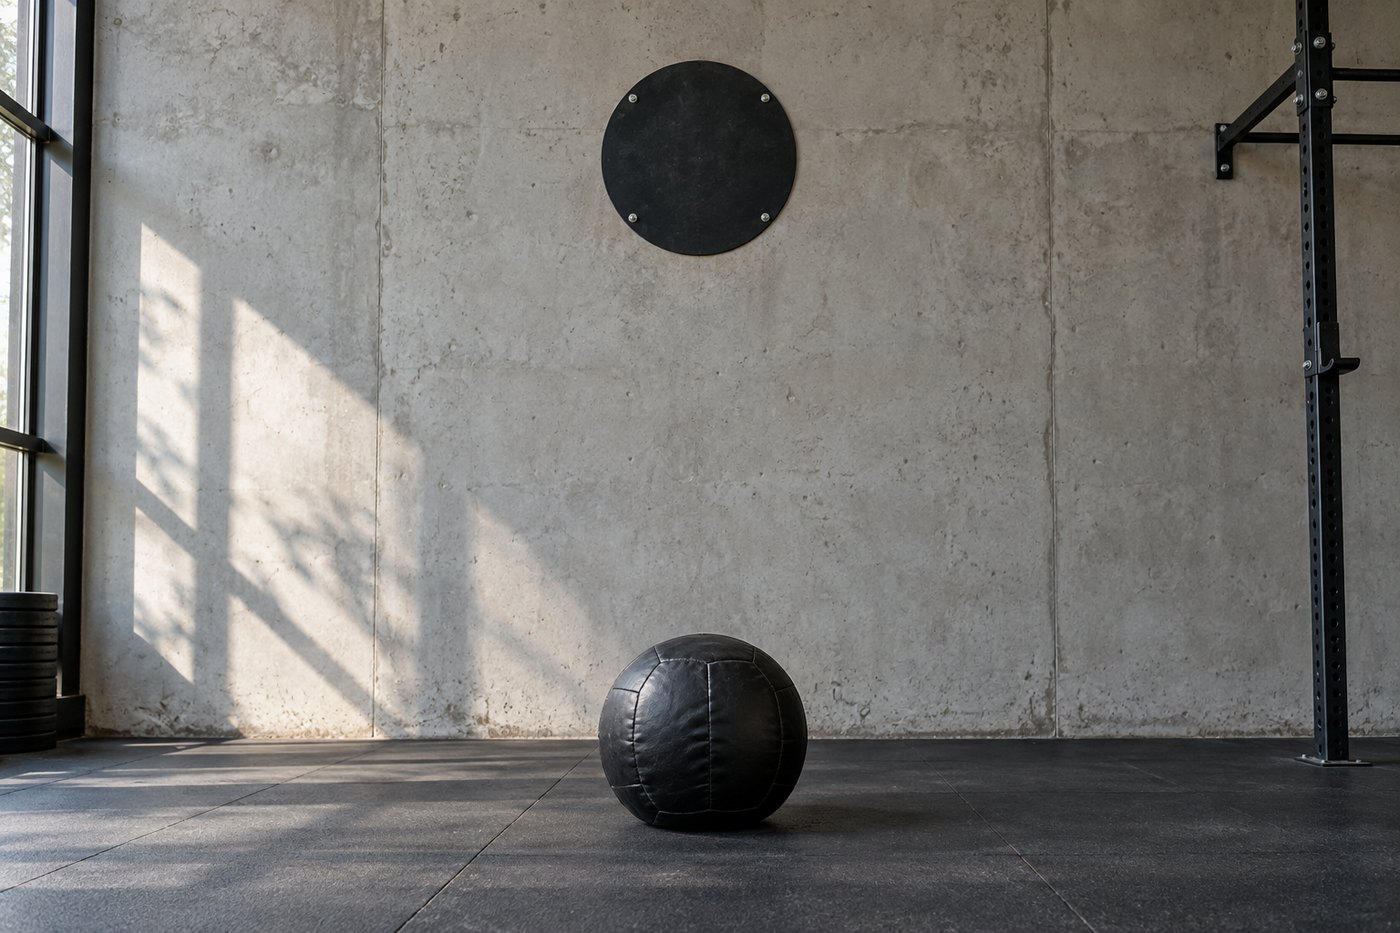
Medicine ball beneath a round wall target
Wall balls equipment

Make the movement work

  1. Hold the ball close and find a distance from the target that lets you throw and catch without chasing it.
  2. Use the leg drive out of the squat to send the ball upwards. Let the arms guide the throw rather than doing all the work.
  3. Catch with control and keep a steady breathing pattern. Choose manageable sets with short, deliberate resets.

Watch for this

Standing too far away, throwing mostly with the arms or chasing a huge first set can make accuracy fade. Practise hitting the target while keeping the same squat pattern.

Try it in training

5 sets of 6 controlled repetitions with 45–60 seconds of rest. Track valid, accurate throws rather than total throws. Finish each set while the movement is still consistent.

Make it manageable. Use a lighter ball and fewer repetitions. A lower practice target is a modification; return to your division’s required target and ball before testing race readiness.

Think one station ahead. Rehearse a set plan and a fallback with smaller sets. Listen to your judge and correct missed standards before repeating the same mistake.

THE DETAILS THAT CHANGE THE FEEL

Same movement.
Different equipment.

01 / MACHINES

A higher damper is not a better score.

The damper changes airflow and the feel of each pull. Effort still comes from how you work. Learn on a setting that supports your technique, and avoid experimenting for the first time on race day.

Concept2’s damper guide ↗
02 / SLEDS

Plates tell only part of the story.

Turf, friction and the sled itself affect how hard a load feels. Record your training surface alongside the weight, and judge progress by consistent movement on the same setup.

03 / YOUR DIVISION

Check the exact requirement.

Weights and targets vary by division. These distances describe singles; use the relevant official rulebook for your format, division and season before setting up a race-specific session.

Choose the official rulebook ↗

PUT THE PRACTICE IN ITS PLACE

Good technique needs
a sensible training week.

Combine station practice with running, strength and recovery. Give each session a purpose and leave room to absorb the work.

Explore training